Hosting a Discord Bot for Free
Subscribe to Tech with Tim
Now that we have created a discord bot it would be useful to know how and where we can host it for free. This tutorial will show you how to host your discord bot for free using heroku.
Hosting a Bot
Right now our bot is only online when we are running the python script on our computer. To allow our bot to stay online at all time we will need to host it on some kind of server. We will be using heroku, a completely free hosting service to accomplish this.
The first step is to setup an account on heroku.com.
Next we will create a new application and name it something that we can remember (we will need this name later).

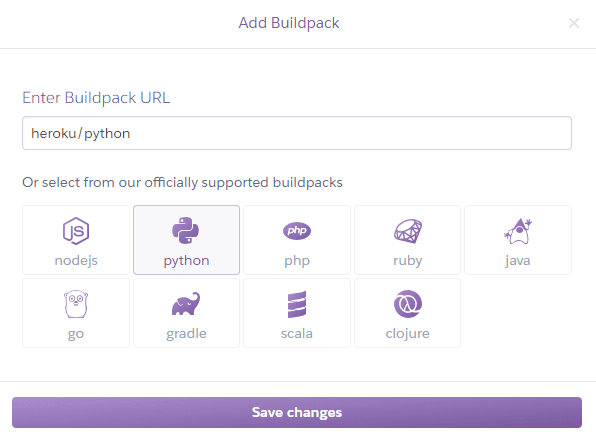
After creating the app we will need to add a new python build-path. Navigate to Settings > Add Build path > Python.

Now we are ready to deploy our bot to heroku.
Downloading the Heroku CLI
To be able to execute some of the commands seen later we need to download the heroku CLI.
Uploading our Bot
Now that we have setup things on heroku it’s time to deploy our code there. To do this we need to follow a few steps.
-
Navigate to our bots directory
-
Create a Procfile
-
Create a requirements.txt file
-
Initialize a git repository
-
Commit to the repository
-
Sign into heroku from command line
-
Push git to heroku
-
Turn our bot on from heroku dashboard.
Creating the Necessary Files
For our bot to run we need to create two files within the same directory as our python script.
First navigate to your bots directory and run the command prompt. Make sure cmd is in the correct directory
Now run the following command: echo>Profile

Open the Profile using Notepad++ or Notepad and replace the contents with worker: python YOURSCRIPTNAME.py

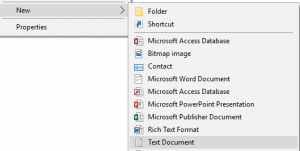
Now inside the current directory create a new text file called requirements

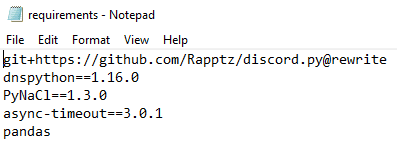
Edit the requirements file to contain the following: (pandas is optional)
git+https://github.com/Rapptz/discord.py@rewrite
dnspython==1.16.0
PyNaCl==1.3.0
async-timeout==3.0.1
SAVE both files
Creating a Git Repository
Now that we have created the necessary files we need to create a git repository that contains them and upload it to heroku. To do this we need to type a series on commands into cmd.
Again make sure that cmd is in the correct directory.
-
heroku login
-
heroku git:clone -a NAME_OF_APP_ON_HEROKU
-
git add .
-
git commit -am “make it better”
-
git push heroku master
Your output should look something like this:

Running the App
The last thing we need to do is turn our bot on from heroku.com. To do this we need to navigate to the Resources Tab and hit Edit. The simply click the slider so it turns on and hit Confirm.

And now after waiting for a minute or two we should see our discord bot online!